Morse Code Picture Translator
A morse code picture translator reads dots and dashes straight out of a photograph, which is what you want when the message exists as an object rather than as text — a beaded bracelet, a line of ink, an engraved band, a page in a book. This page is about that specific case: photographing something physical and getting a real answer back. The single biggest factor is not the software, it is how the picture was taken, and a two-minute reshoot routinely turns an unreadable photo into a clean decode.
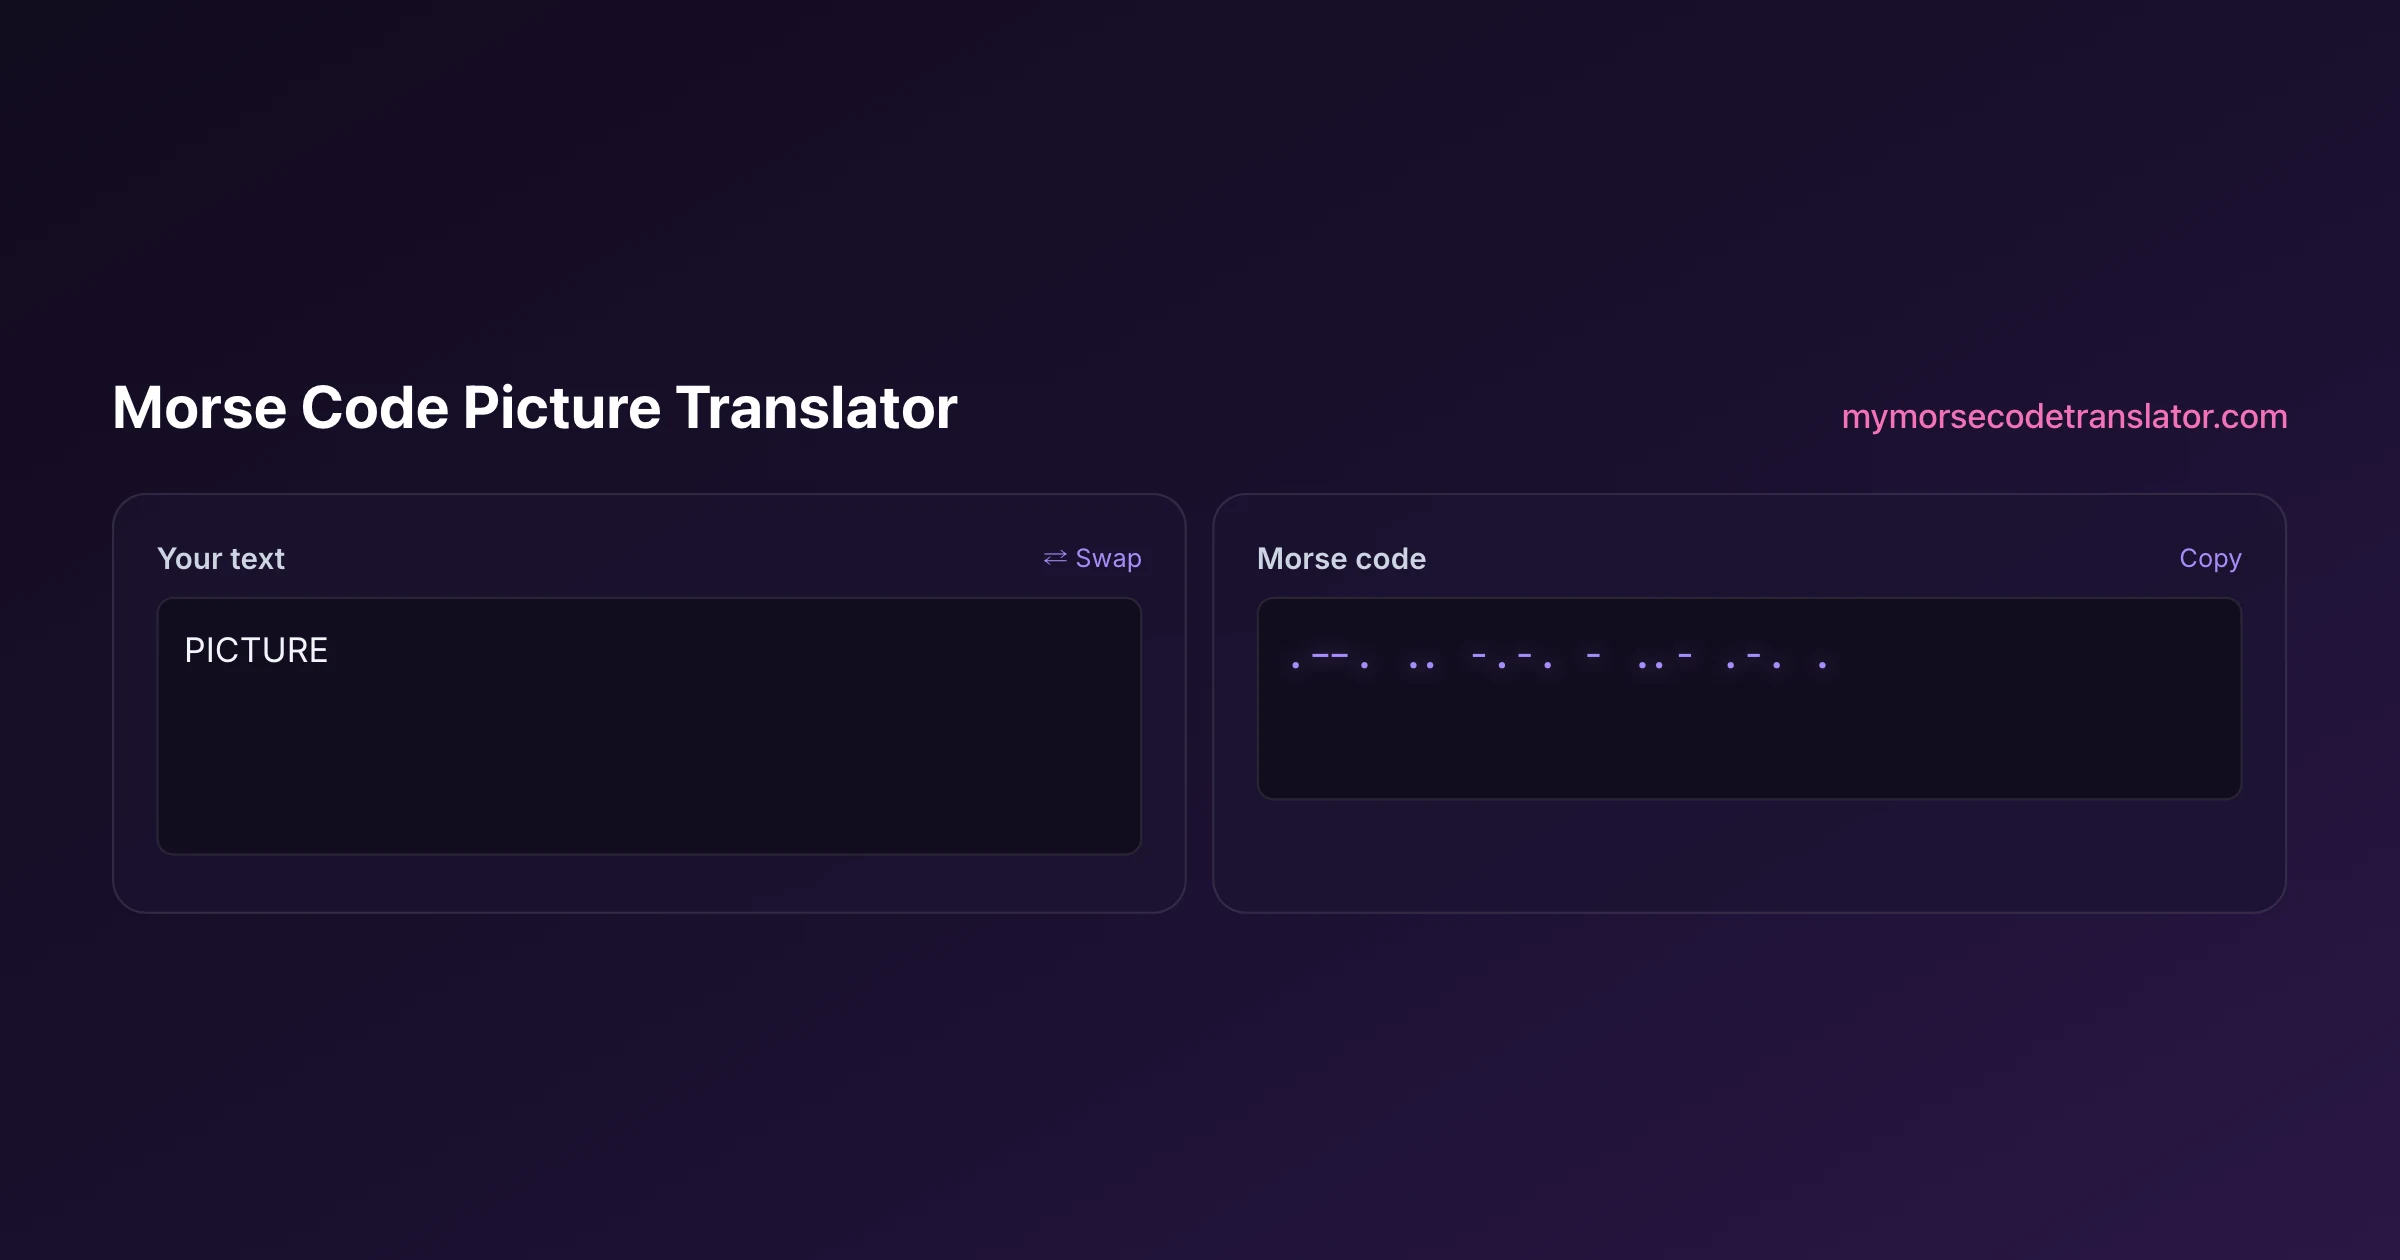
👀 Preview
Press ▶ Play — this shows what you'll see and hear.
Customize your message
Your picture appears in Play and downloaded videos. Note: it can't be included in a shared link — links carry the message only.
Share as a secret message
The message is hidden inside the link and decodes with sound & light when your friend opens it.
Photographs are harder than screenshots
A screenshot of Morse decodes almost perfectly, because the marks are exactly the pixels they were drawn as — perfect contrast, no blur, no shadow, no perspective.
A photograph adds every one of those problems at once, and they stack:
- Perspective. Shoot at an angle and the marks nearest the camera are larger than the ones further away, so a dash at the far end can measure smaller than a dot at the near end.
- Curvature. A bracelet on a wrist, a ring, a tattoo on a forearm — the surface bends away, compressing the marks at the edges.
- Shadow. A hard shadow across part of the piece can read as a mark, or hide one.
- Focus. Shallow depth of field puts one end of the pattern out of focus, and blurred edges destroy the length measurement everything depends on.
- Reflection. Polished metal and glazed ceramic throw highlights that look exactly like marks.
None of these is fatal on its own. Two or three together usually are.
How to take a picture that decodes
This is the part with the highest return, and it takes two minutes.
Shoot straight on. Put the camera directly above the pattern, lens parallel to the surface. This one change fixes more failures than everything else combined.
Flatten what you can. Take the bracelet off the wrist and lay it flat. Straighten the arm for a forearm tattoo. If the object cannot be flattened, photograph it in sections and decode each separately.
Use soft, even light. Near a window on an overcast day is close to ideal. Avoid direct sun and avoid the phone's flash — both create hard shadows and specular highlights.
Fill the frame. Crop tight to just the pattern before you upload. Background clutter gives the reader more things to mistake for marks.
Get the whole pattern in focus. Back off slightly and let the lens do the work rather than pushing in macro-close, where depth of field collapses.
Contrast the background. A dark bracelet on a dark table is a hard problem you created. Put it on plain white paper.
What the reader is actually doing
Understanding the mechanism explains why the advice above works.
The reader converts the picture to brightness values and finds a threshold that separates marks from background — computed from the image itself rather than fixed, so it copes with any colour scheme. It then collapses the image into columns, finds runs of "mark" and runs of "gap", and measures their lengths.
Everything after that is comparison. Marks sort into two groups by width: the short ones are dots, the long ones are dashes. Gaps sort into groups too — small ones sit inside a letter, larger ones separate letters, largest separate words.
That is why consistency matters more than quality. The reader never asks "is this 4 mm?" It asks "is this longer than the others?" A slightly blurry photo with even spacing decodes fine. A sharp photo where perspective made the far marks shorter does not, because the comparison is now against a moving yardstick.
Bracelets, the most common case
More pictures uploaded here are beaded bracelets than everything else combined, usually for one of two reasons: someone was given one and wants to know what it says, or someone is about to buy one and wants to check the seller got it right.
Both are good uses, and both have the same failure mode. A great many bracelets sold as Morse are not decodable at all — not because the maker chose the wrong beads, but because they used the same gap between every bead. Morse needs the space between letters to be visibly wider than the space between marks inside a letter. Without that, the pattern is genuinely ambiguous rather than merely hard: four round beads in a row could be H, or two Is, or four Es, and no reader can tell which.
If a photo will not decode and the beads look evenly spaced, that is your answer. The bracelet is decoration. It may still be a lovely object and mean a great deal — it simply cannot be read by anyone who was not told.
Morse code bracelet translator goes deeper on reading jewellery specifically.
A practical note if you are buying rather than reading: ask the seller for the exact dots and dashes rather than trusting the listing photograph, then decode that string yourself before ordering. Marketplace listings on Etsy and elsewhere are often photographed at flattering angles that hide exactly the spacing problem you care about, and a seller who cannot supply the pattern usually did not work from one.
Tattoos and engravings
Ink and metal bring their own quirks.
Tattoos spread over time. A dash that was clearly three times a dot at year one can be twice as long at year ten, which pushes the two mark types together and makes the split ambiguous. Fresh work photographs better than old work, and high-contrast ink on light skin better than low-contrast ink. Curvature is the bigger problem though — a forearm is a cylinder, so straighten the limb and shoot the flattest part square on.
Engravings are the opposite problem: the marks hold their shape perfectly, but they are often shallow and low-contrast. The trick is raking light — a lamp low and to one side throws small shadows into the engraved marks and makes them pop. Straight-on lighting flattens them into invisibility.
Printed pages are the easiest case of all and behave essentially like screenshots. Flatten the page, avoid the curl near the spine, and shoot square.
When the picture cannot be read
Sometimes the answer is that this photograph will not decode, and the useful thing is to know why rather than to keep retrying.
The information is genuinely absent. Even spacing throughout, as above. No tool recovers what was never encoded.
Two failure modes are stacked. Curved and shadowed and slightly out of focus is usually past the point of recovery. Reshoot rather than reprocess.
It is not International Morse. If the marks look clean and the output is nearly-readable with scattered wrong letters, the source may be American morse code, which shares many letters but differs on about a dozen.
It is not Morse at all. Decorative dot-and-dash patterns are a common design motif, and plenty of jewellery uses the aesthetic without encoding anything.
When you are stuck, transcribe by eye. Write a dot or dash for each mark and a slash at each clear gap, then paste that into the decoder. You are doing the segmentation the software could not, and people are remarkably good at it.
One more check worth running before you give up: confirm the piece was made against the international standard at all. The letters used by every modern tool, jeweller and radio operator are fixed by the ITU in recommendation ITU-R M.1677, and that is what this reader decodes against. A piece made from a hand-drawn chart found online may quietly use a non-standard variant, in which case the marks are read correctly and the letters still come out wrong.
Picture, image, photo — the same job
These are the same task under different words, and the tool does not care which you searched for. If you arrived looking for a photo reader or an image reader rather than a picture one, you are in the right place.
The distinction worth making is not picture versus image but capture versus screenshot. A screenshot carries perfect information and decodes reliably. A capture of a physical object carries degraded information and depends on how it was taken.
That is the whole reason this page exists as a shooting guide rather than an upload button. The upload is the easy part.
Morse code image translator covers the screenshot and on-screen path in more depth.
Privacy, and what happens to your upload
Worth stating plainly, because people upload photographs of gifts, of their own skin, and of things that matter to them.
The reader tries first entirely on your device. Nothing leaves the browser for that pass, and for clean photographs it is also the pass that succeeds.
Only when the on-device pass fails does the tool offer a fallback that sends the picture to be read once. That request is not stored and the image is discarded after the response. The page tells you which path produced your result, so you always know whether the picture left your device.
There is no account, no upload history, and nothing kept. If you would rather it never leave at all, transcribe by eye and paste the marks in — that path is entirely local.
Going the other way
If what you actually want is to make a picture rather than read one, the translator on this page exports your message as a still image — on a dark background or with a transparent one, which is the easier of the two to drop into a card, a post or a design.
Both are free, both are branded so people can find their way back, and both render in your browser.
For something with motion, morse code video maker produces a vertical clip with the audio and flashing built in, and the morse code decoder handles the plain text-and-marks direction whenever you already have the dots and dashes written down.
The same bracelet, photographed twice: once on a wrist under a ceiling light, once laid flat on a sheet of printer paper next to a window. The first would not decode at all. The second read first time. Nothing about the object changed — only the angle, the background and the light.
Frequently Asked Questions
Q. Why will my morse code picture translator result not decode?
Most often the photo was taken at an angle, or the object is curved, or a hard shadow crosses the pattern. Shoot straight on, lay the piece flat, use soft even light and crop tight — that fixes the large majority of failures.
Q. Can it read a bracelet photo?
Yes, if the bracelet was made with wider gaps between letters than between the beads inside a letter. Many bracelets use identical spacing throughout, and those genuinely cannot be decoded by anyone — the information was never encoded.
Q. Does a photo of a tattoo work?
Usually, with two caveats. Straighten the limb and shoot the flattest part square on, because a forearm is a cylinder. And older ink has spread, which pushes dots and dashes closer in length and makes them harder to separate.
Q. Is my photo uploaded anywhere?
The first pass runs entirely in your browser and nothing is sent. Only if that fails does the tool offer a fallback that sends the image once to be read, and it is discarded afterwards. The result tells you which path was used.
Q. What if the picture still will not read?
Transcribe it by eye — write a dot or dash for each mark and a slash at each clear gap, then paste that string into the decoder. You supply the segmentation the software could not, and it works on photos that defeat automatic reading.
Related guides
← Back to the My Morse Code Translator home page.

By Sukie
Sukie is the creator of My Morse Code Translator — a puzzle nerd and gadget tinkerer who fell down the Morse code rabbit hole and decided to build the most fun Morse translator on the web. When she's not adding new sound packs or reveal animations, she's decoding hidden messages in songs or designing Morse code bracelets for friends.
Last updated: 2026-10-17