How to Make a Morse Code Bracelet
Learning how to make a morse code bracelet takes about an hour, and roughly forty minutes of that is deciding on the word and counting beads. The stringing itself is straightforward. What separates a bracelet that genuinely spells something from one that just looks like beads is the spacing — and that is decided before you thread anything. The principle is simple. Every letter in Morse is a short run of dots and dashes. A small round bead is a dot. A longer tube bead is a dash. A visibly different bead — or a knot, or a gap — separates one letter from the next. Get those three elements right and the bracelet is readable by anyone with a chart. Get the third one wrong, which is the usual outcome, and it becomes an attractive but meaningless string.
👀 Preview
Press ▶ Play — this shows what you'll see and hear.
Customize your message
Your picture appears in Play and downloaded videos. Note: it can't be included in a shared link — links carry the message only.
Share as a secret message
The message is hidden inside the link and decodes with sound & light when your friend opens it.
What you need before you start
Nothing here is specialised, and most of it comes in a single beading starter kit.
- Small round beads for the dots. 3–4 mm is typical. Buy more than you think.
- Tube or bugle beads for the dashes. These should be roughly three times the length of your dot bead, not just slightly longer — that ratio is what makes the code readable.
- Spacer beads for the gaps between letters. A clearly different colour, shape or finish. Some people use a small knot instead.
- Cord or elastic. 0.7 mm elastic is forgiving and needs no clasp. Waxed cotton or leather looks better but needs a clasp and a tidier finish.
- A clasp, if you are not using elastic. Lobster clasps are the easiest to fit.
- Scissors, a beading needle (for stiff cord), and clear nail polish or glue for the knot.
On quantities: a four-letter name needs somewhere between 9 and 16 beads depending on the letters, plus spacers. Buying a mixed pack is cheaper than guessing. If you would rather buy a finished one than make it, ready-made versions are widely sold on Etsy — though the same spacing problem applies there, and it is worth checking before you buy.
A note on the dash bead. The temptation is to use something only a little longer than the dot, because it looks more delicate. Resist it. If a dash is not obviously three times a dot at a glance, nobody can read the bracelet, and that includes you.
Step one: choose the word and count the beads
Do this before you touch a single bead, because the count decides whether the design fits a wrist at all.
Convert your word in the translator on this page, then write out the marks. Here are four worked examples so you can see the range:
- MOM —
-- --- --— 7 marks, 2 spacers = 9 beads. - SAM —
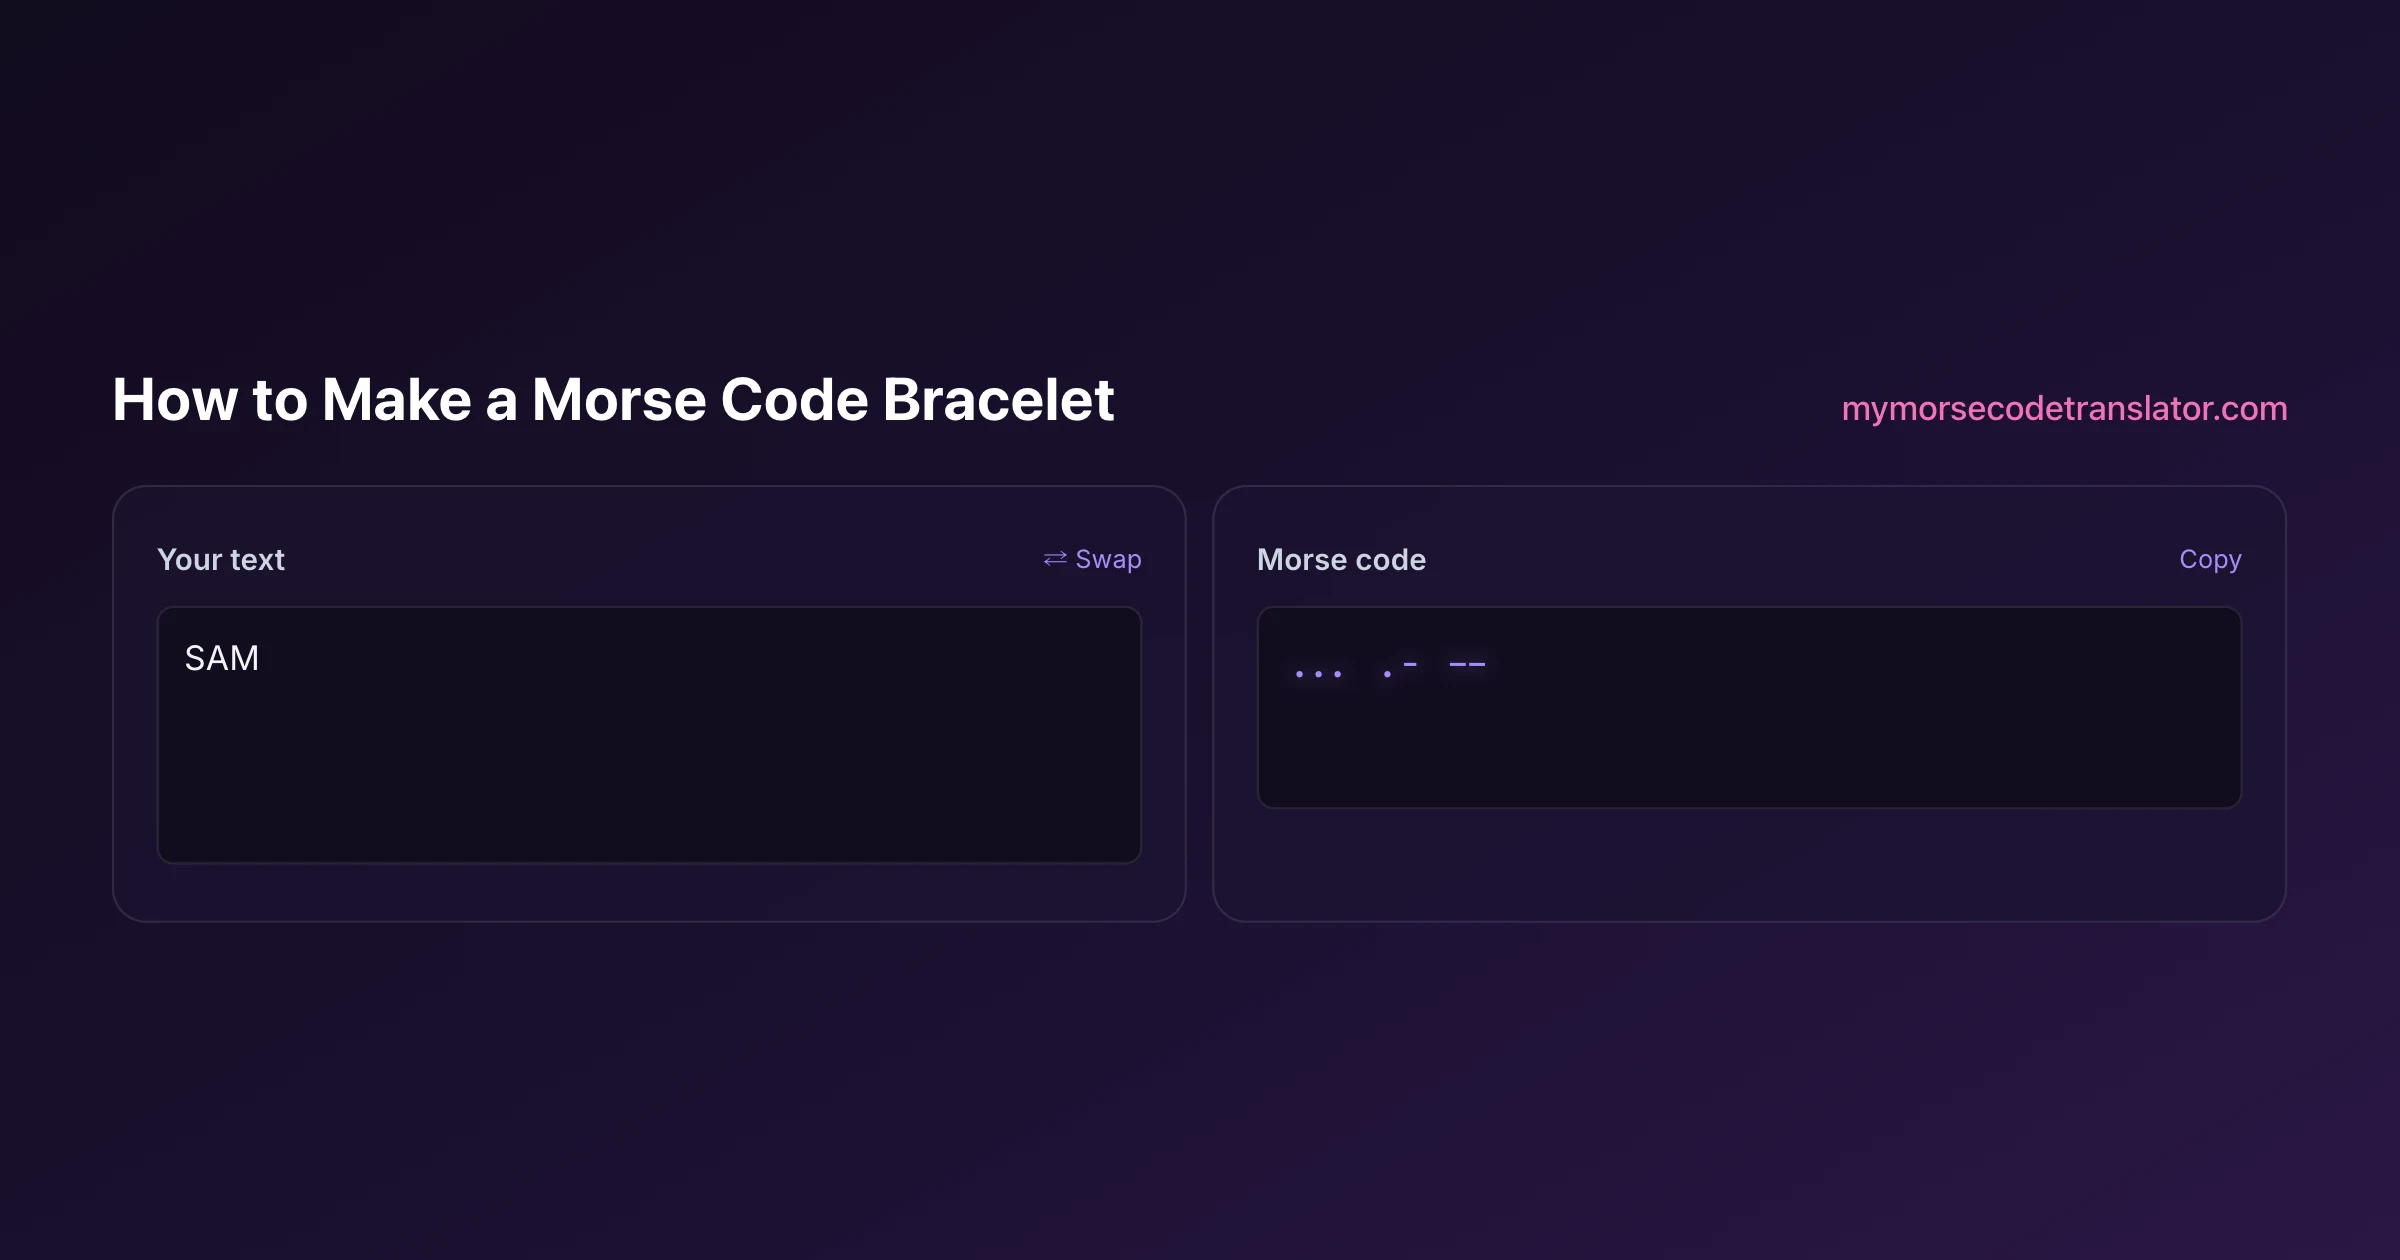
... .- --— 7 marks, 2 spacers = 9 beads. - ANNA —
.- -. -. .-— 8 marks, 3 spacers = 11 beads. - LOVE —
.-.. --- ...- .— 12 marks, 3 spacers = 15 beads.
Notice that LOVE and ANNA are both four letters but differ by four beads. Letter counts do not predict bead counts — you have to convert.
As a working rule, an adult wrist takes about 16–20 cm of beading. At 4 mm per dot and 10 mm per dash, a 15-bead word like LOVE lands around 9–10 cm of beads, leaving plenty of cord. Push past about 25 beads and you are making a wrap bracelet or a necklace, whether you meant to or not.
If the word is too long, the usual fixes are initials, a shorter form of the name, or moving to a wrap design. Shortening is almost always better than shrinking the beads.
Step two: string it in order
Lay the full sequence out on a towel or bead mat before threading. A towel stops beads rolling and lets you check the pattern against your written code.
Working left to right:
1. Cut your cord about 10 cm longer than the finished length you want. You need slack for the knot. 2. If you are using a clasp, attach one half now. 3. Thread the marks for the first letter, in order, with no spacer between them. For S that is three round beads in a row. 4. Thread one spacer bead. 5. Thread the marks for the second letter. 6. Repeat — spacer, letter, spacer, letter — to the end. 7. Do not put a spacer after the final letter. 8. Attach the other half of the clasp, or tie off if using elastic.
For SAM the full sequence is: round, round, round — spacer — round, tube — spacer — tube, tube. Nine beads, and you should be able to read it back off the towel before it goes on the cord.
One habit worth adopting: thread the whole thing, then photograph it flat and compare the photo against your written code. Mistakes are far easier to see in a photo than in your hands.
The spacing that decides whether it works
This is the part that separates a real Morse bracelet from a decorative one, and it is where nearly every homemade version goes wrong.
International Morse, standardised in ITU-R M.1677, sets the proportions: a dash is three units to a dot's one, the gap between marks inside a letter is one unit, and the gap between letters is three units. Seven units separate words.
On a bracelet, those gaps become physical. Inside a letter the beads sit flush against each other. Between letters there must be a visible interruption — the spacer bead, a knot, or a genuine gap in the cord.
The classic failure is putting a spacer between every bead because it looks neater. Do that and every letter boundary vanishes: a reader sees eleven marks with no idea where one letter ends. .- -. (AN) and .--. (P) are the same four marks; only the gap tells them apart.
So the rule is: spacers go between letters, never inside them. If you are using knots rather than beads, tie a knot in the same places and pull it tight enough to be unmistakable.
If you want to check a design — yours or a bought one — before committing, the morse code bracelet translator walks through reading the beads back.
Finishing: knots, clasps and making it last
A well-made bracelet fails at the knot far more often than at the beads.
With elastic: use a surgeon's knot — a double overhand, pass through twice, then pull. Tie it twice. Add a drop of clear nail polish or jewellery glue, let it dry fully, then slide the knot inside the nearest large bead to hide it. Do not trim the tails until the glue has set.
With cord and a clasp: use crimp beads or a knotted loop. Crimps are more secure; a sliding knot lets the wearer adjust the size, which is useful for a gift where you are guessing the wrist.
Sizing: measure the wrist and add 1.5–2 cm for comfort. For elastic, add a little less — it stretches. A bracelet that is slightly loose reads better anyway, because the beads lie flat rather than curling round.
Durability: elastic perishes in 12–24 months of daily wear. Cord lasts longer but frays. Either way, keep a note of the bead sequence so you can restring it without re-deriving the code.
Five mistakes worth avoiding
These are, in order, the things that actually go wrong.
1. Spacers between every bead. Destroys all letter boundaries. The most common error by a wide margin. 2. Dash beads that are not long enough. If a dash is twice a dot rather than three times, readers guess — and guess wrong. 3. Miscounting a repeated letter. ANNA has two Ns in a row; it is very easy to thread one. Photograph and check. 4. Running out of a bead type mid-build. Count the full requirement before starting, not per letter. 5. Not checking the word. Convert twice, ideally against a printed morse code alphabet as well as the tool. A transposed letter in a gift is not recoverable once it is strung and glued.
If you would rather see the whole layout rendered before you buy beads, the morse code bracelet maker draws the bead pattern out at the right proportions, and the morse code bracelet page covers the styles you will see if you are buying rather than making.
I strung SAM as a test before writing this and got it wrong the first time by putting a spacer between all nine beads — the result looked tidier and was completely unreadable, because there was no longer anything marking where S ended and A began. Restringing it with spacers only between letters dropped it from 9 beads to the same 9 beads but made it decodable in about four seconds with a chart on the table.
Frequently Asked Questions
Q. How many beads do I need?
Count the dots and dashes in your word, then add one spacer for each gap between letters. MOM is 9 beads, ANNA is 11, LOVE is 15. Letter count alone will not tell you — convert the word and count the marks.
Q. What size beads should I use?
3–4 mm round beads for dots, and tube beads roughly three times that length for dashes — about 10–12 mm. The three-to-one ratio matters more than the absolute size, because that ratio is what makes a dash distinguishable from a dot.
Q. Do I need a spacer between every bead?
No, and this is the single most common mistake. Spacers go only between letters. Marks inside one letter sit flush against each other. If every bead is separated, the letter boundaries disappear and the bracelet cannot be read.
Q. Can I use a knot instead of a spacer bead?
Yes, and it looks cleaner on leather or waxed cotton. Tie the knot in exactly the places a spacer would go — between letters only — and pull it tight enough that it is clearly visible as a break.
Q. How long should I cut the cord?
Measure the wrist, add 1.5–2 cm for comfort, then add another 10 cm for tying off. You can always trim the tails; you cannot add cord once the beads are on.
Q. Elastic or cord?
Elastic needs no clasp and is much easier for a first attempt, but perishes in 12–24 months of daily wear. Waxed cotton or leather looks better and lasts longer but needs a clasp or a sliding knot.
Q. What if my word is too long for a wrist?
Past about 25 beads you are into wrap-bracelet or necklace territory. The usual fixes are initials instead of a full name, a shortened form, or a double wrap. Shrinking the beads is the one option that does not work — it costs you readability.
Q. How do I stop the knot coming undone?
Use a surgeon's knot, tie it twice, add a drop of clear nail polish or jewellery glue, and let it dry completely before trimming. Then slide the knot inside a larger bead so it is both hidden and protected.
Q. Can someone actually read the bracelet?
Yes, if the spacing is right. Anyone with a Morse chart can decode it bead by bead. That is the appeal for most people — it is legible in principle but private in practice, because almost nobody thinks to try.
Q. Should the bracelet be read left to right?
There is no standard, which is worth knowing. Most makers read left to right from the clasp. If you are giving it as a gift, mention which end is the start — otherwise a symmetrical-looking word can be read backwards.
Q. Can I make a matching one for someone else?
Yes, and a common approach is two bracelets spelling each half of a pair — one saying a name, the other saying the other name. Keep a written note of both bead sequences, because restringing from memory a year later is much harder than it sounds.
Related guides
← Back to the My Morse Code Translator home page.

By Sukie
Sukie is the creator of My Morse Code Translator — a puzzle nerd and gadget tinkerer who fell down the Morse code rabbit hole and decided to build the most fun Morse translator on the web. When she's not adding new sound packs or reveal animations, she's decoding hidden messages in songs or designing Morse code bracelets for friends.
Last updated: 2026-10-29